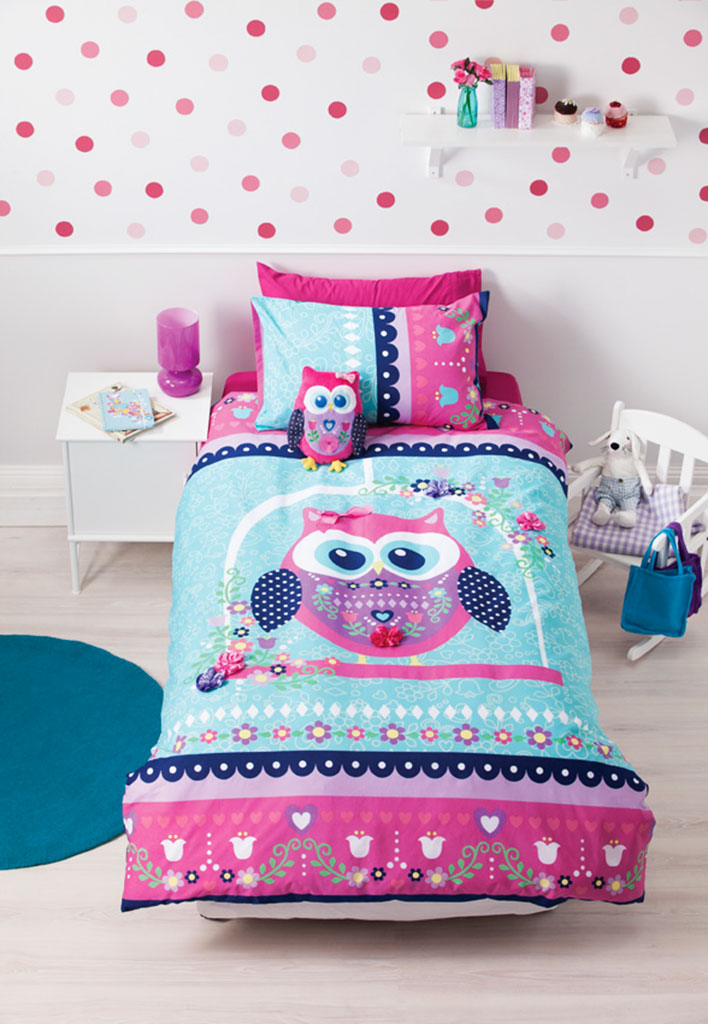
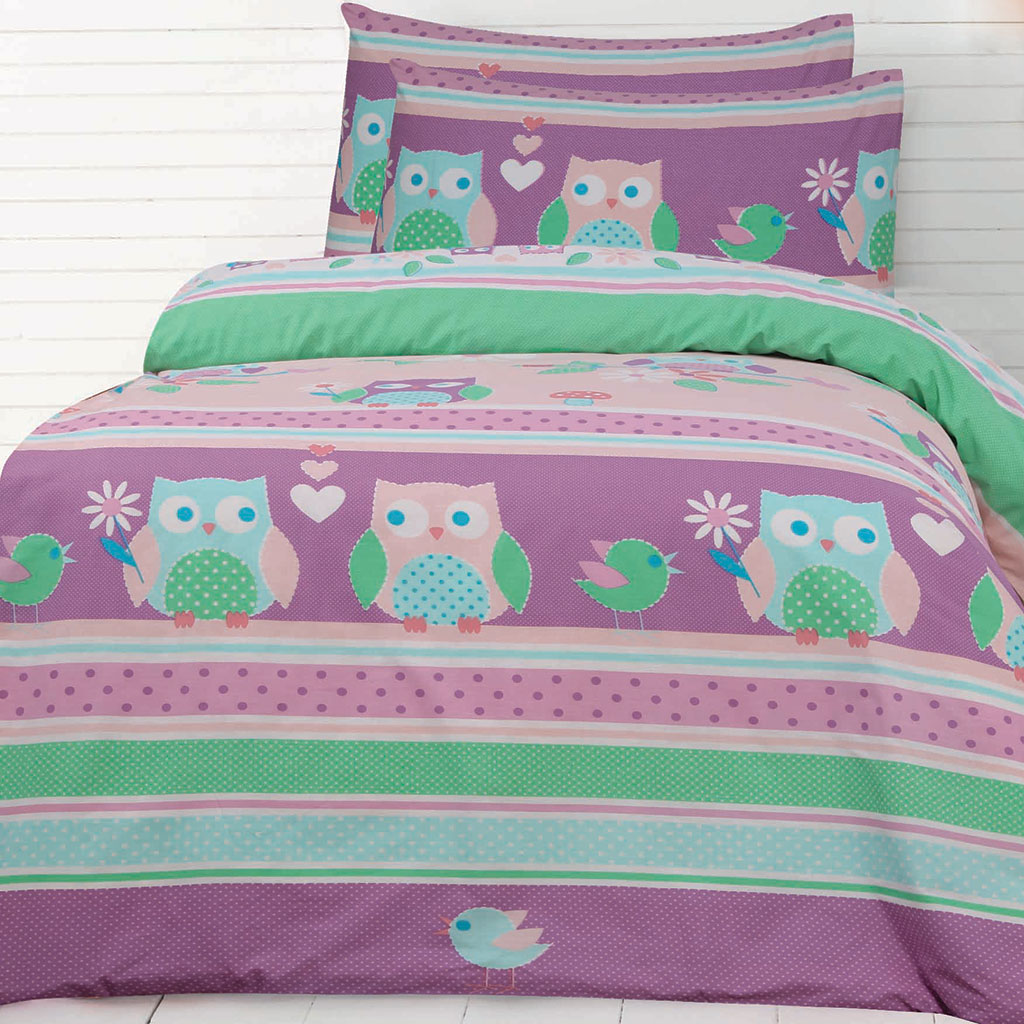
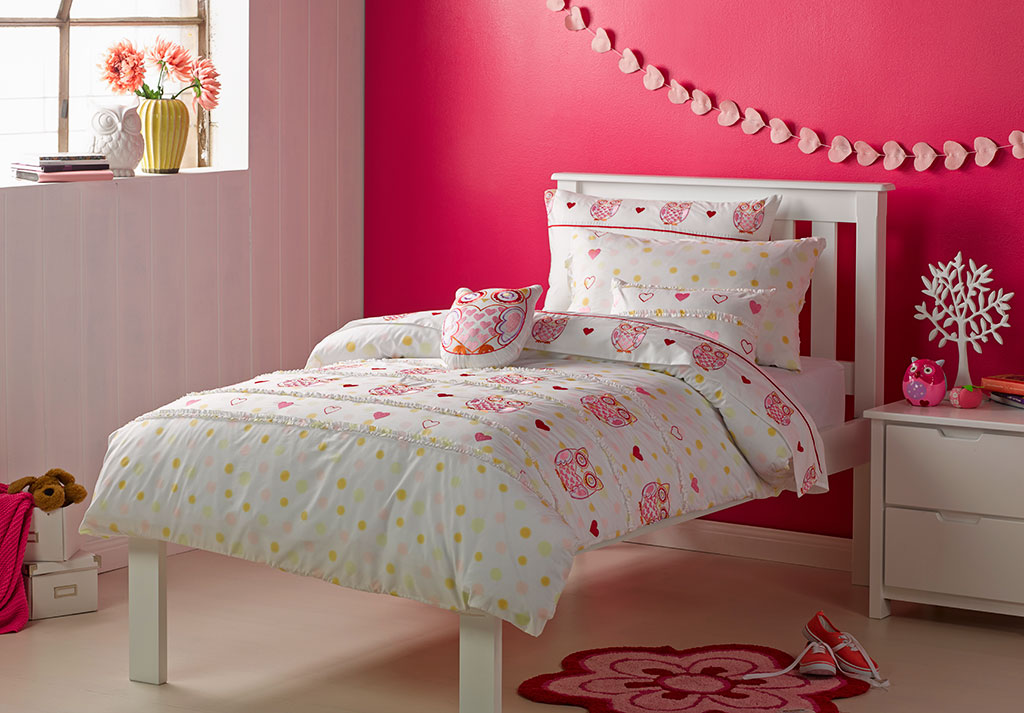
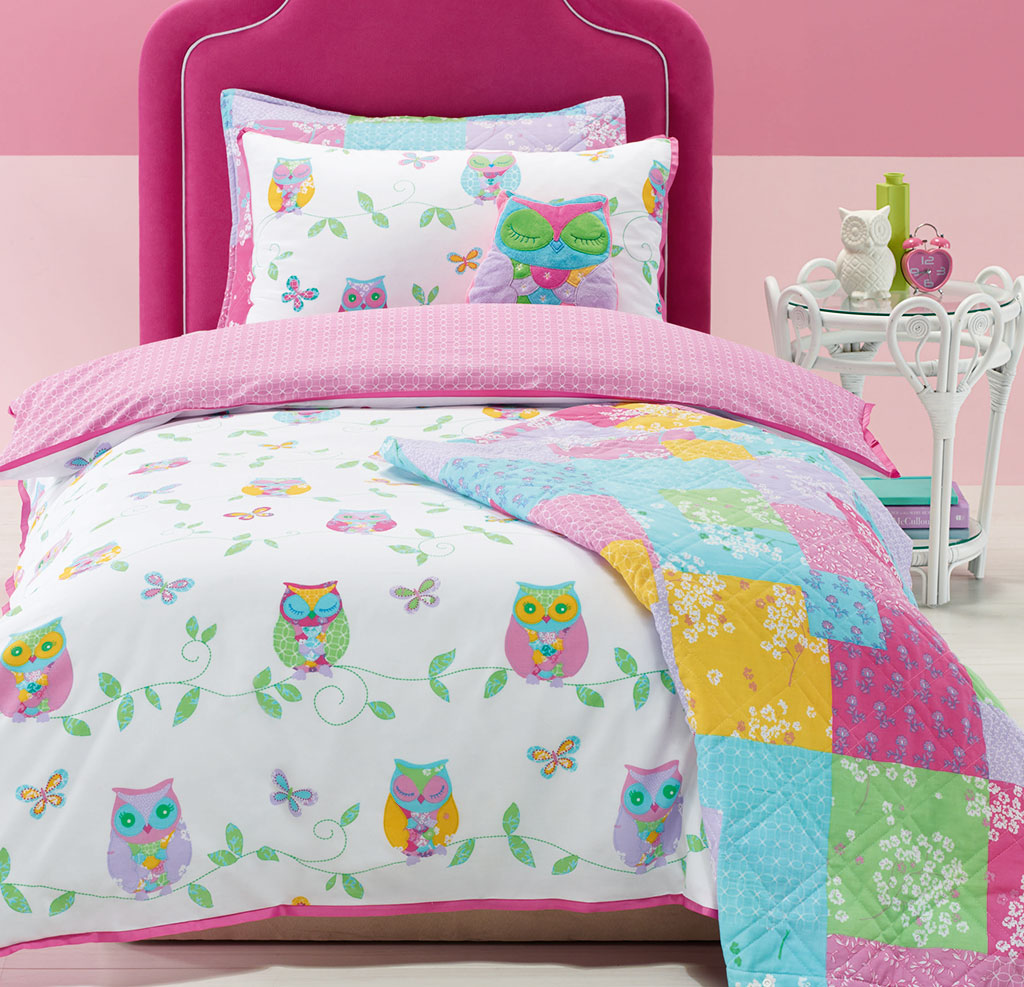
It’s no secret, the popularity of owls, with the abundance of these majestic birds in popular culture and within fashion, style and interior design. These feathered friends make a wonderful room theme for girls and boys and are abounding in cuteness. Here are some of the very best do it yourself decor ideas that are simple to make, easy on the budget and are sure to put a smile on the face of anyone that adores owls.
Make a Set of Owl Bookends
Learn how to make some adorable Owl bookends with Meg Deandelis from Revved Up Rooms, that look just great in a teenager’s room. For this project you’ll need some coloured felt, dried beans, the downloadable owl template, a black marker, scissors, glue gun and puff paints.
To begin, print out the template and cut out the shapes to trace around them onto the felt. When you have all your shapes cut out and ready, you can start to put them all together. Start by hot gluing the front of the bird’s body to the back, leaving an opening to fill with the beans. When the bookend is filled up with beans, glue the opening shut. Position and glue the eyes together, so they’re ready to place onto the body. Decorate embellishments onto the wings and belly felt pieces with puff paint as desired. Now to complete the bookend, glue the eyes, wings, belly and nose in place onto the bird’s body and you’re done. Place the cute little owl on a bookshelf to hold up those books and give him name.
Create an Owl Lampshade
This lampshade is loads of fun and the perfect accompaniment for any child’s bedroom. To make your lampshade, you’ll need a solid paper lantern, coloured card, a hot glue gun and glue and scissors. To begin, print and cut out the elements – the head, feet, body and wings.
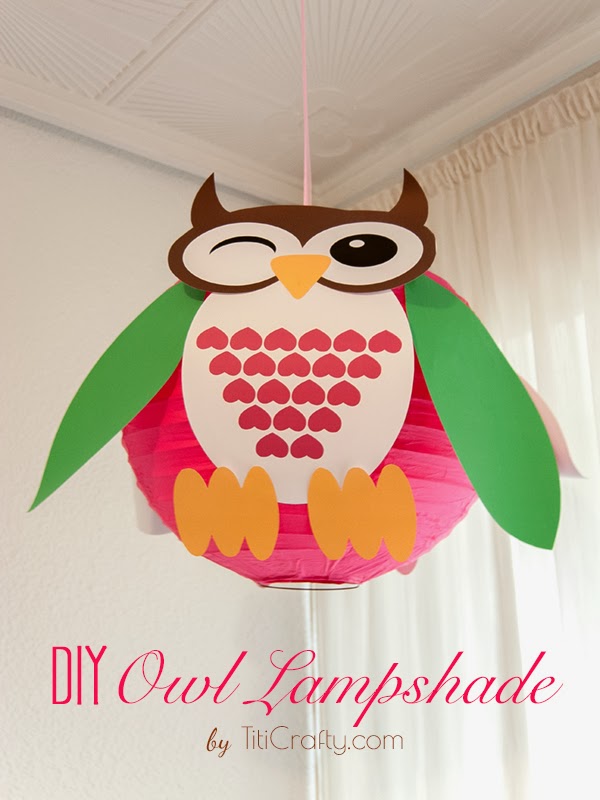
Expand you lantern lamp out to form it’s shape. Glue the body to the lamp securing in place with hot glue at the top and bottom. Do the same for the head, ensuring that the beak is sitting on top of the bird’s body. Fix the wings in place by gluing the top to the middle so that the wings are slightly loose and sit freely. Lastly, glue the feet in place. Now you can hang it from the ceiling with a ribbon and you have a lovely embellishment for your child’s room that is easy and inexpensive to make and a fun and valuable enhancement to the interior design of your home.
Visit The Crafting Nook for more amazing craft ideas and to download the printable elements and for all the photographs and instructions on how to make your own lampshade.
Craft Your Own Owl Button Art
Hanging a piece of artwork on a wall is wonderful way to brighten up a bland wall. This button craft project is a unique and fun approach to enhancing your room decor in a bedroom, nursery or anywhere around your home.
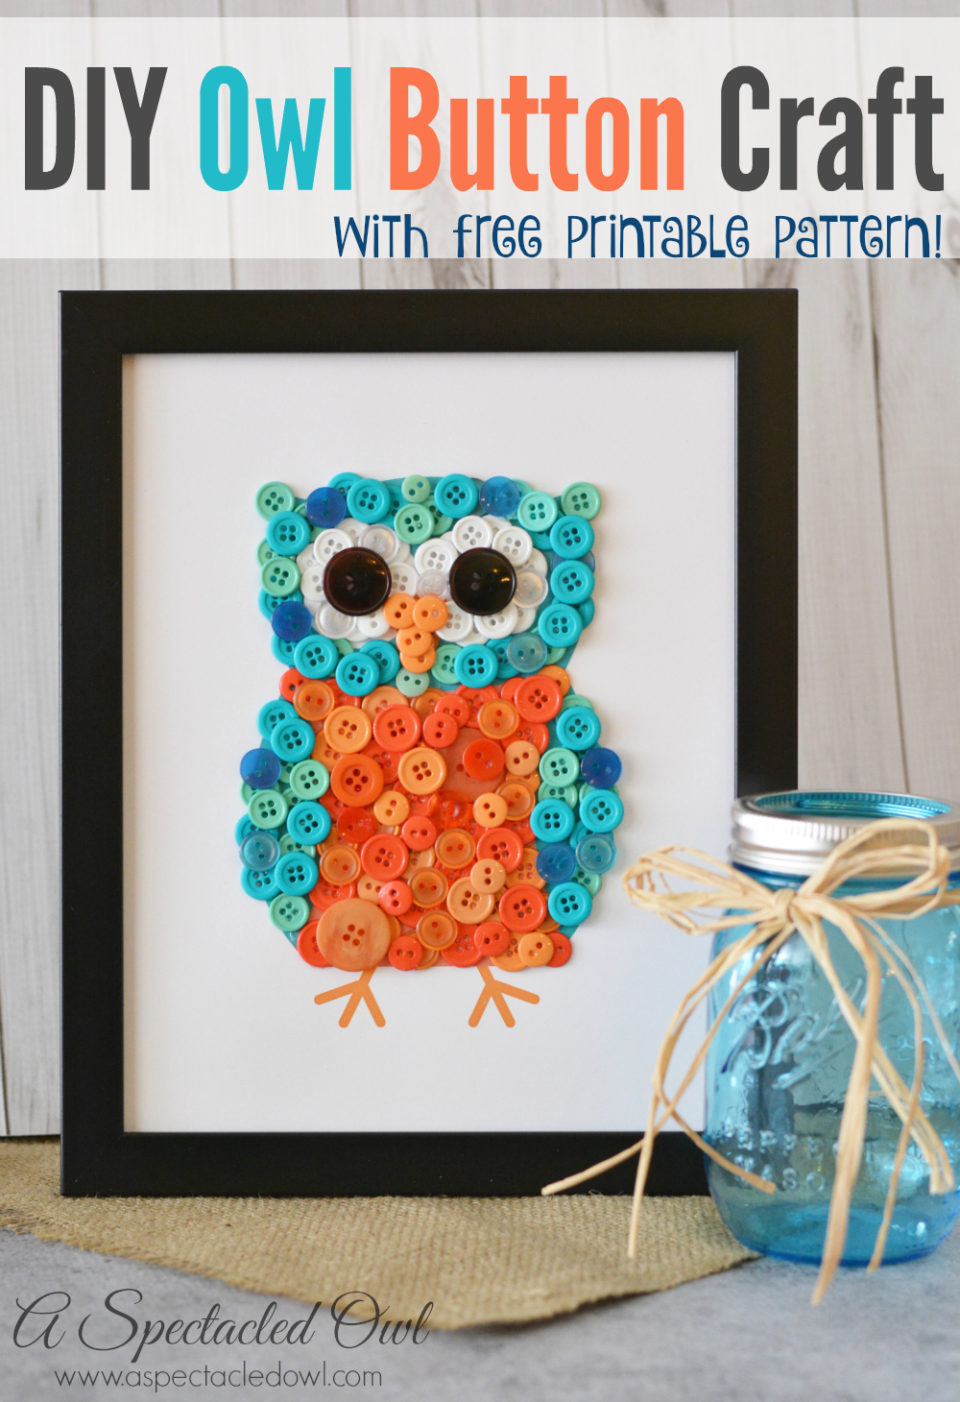
The button craft picture is not only unique, lots of fun and simple to make, it’s a great owl room decor accessory to brighten up a room that you can completely customise to compliment your existing decor by choosing your own colour and style of buttons so that it suits any room in your home and will look just fabulous. It’s much easier to make than it looks and when you’re done you will have an adorable creation to hang on the wall with a story to tell about how you created it.
Visit Tara’s fantastic blog, A Spectacled Owl, for more great home decor ideas and to download the pattern and for all the details to make your own button art for your home.
Make an Owl Nightlight
Night-owls will adore this adorable wide eyed nightlight and it will look fabulous on a bedside table, nightstand or chest of drawers. For this project, you’ll need a metal or ceramic owl with holes around it so that the light can shine through. You’ll also need to make sure that it also has a hole in the bottom of it, so that you can feed the lights through. You’ll also need white spray paint, sealer and some battery operated LED lights.
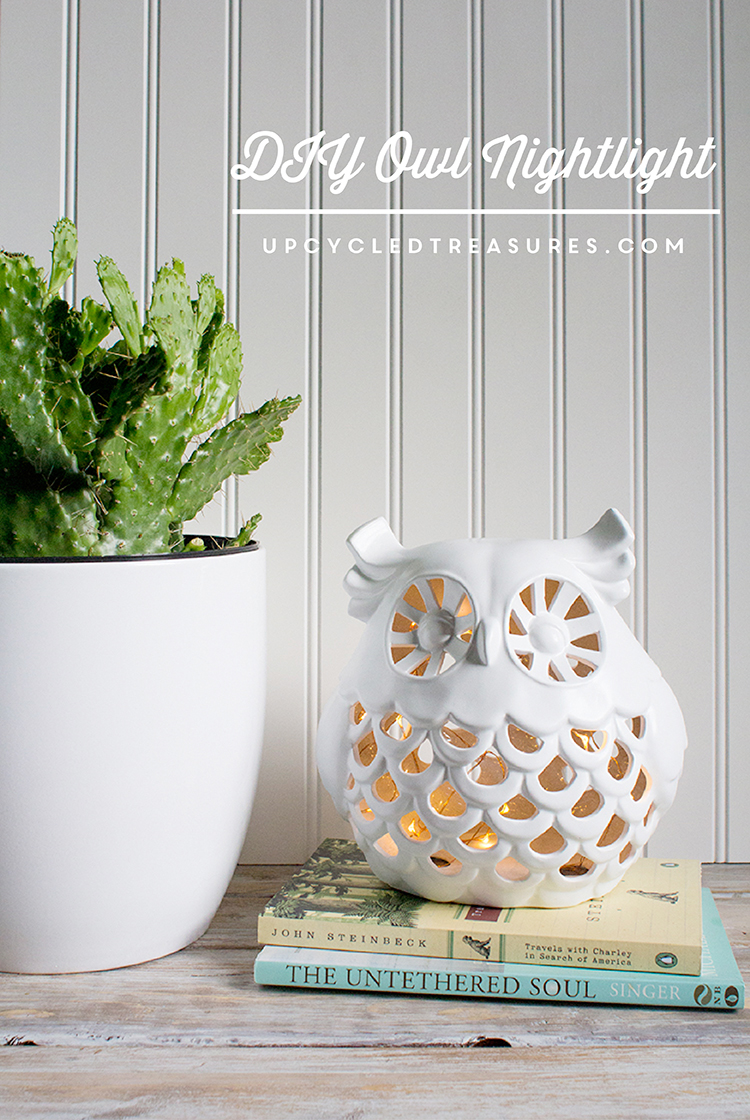
To begin, spray paint the piece with a few coats to ensure complete coverage and allow it to completely dry each time. When the painting is done and it’s dry, feed the battery operated lights through the hole at the bottom. Optionally, you can attach some furniture feet on the bottom of it finish it off.
This adorable and whimsical owl home decor accessory will be appreciated in any themed child’s room or anywhere around the home.
Visit Mountain Modern Life for all the details on how to make your own nightlight and more inspiring do it yourself projects.
Create a Owl Mobile
A nursery wouldn’t be complete without a baby mobile and this felt mobile is an absolutely adorable piece of owl bedroom decor and so simple to make for your home. Perfect for a baby boy or girl, this mobile would look gorgeous hanging over a crib or even in the corner of a room, hanging over a rocking chair.
For this project, you will need felt in whatever colours you choose, remembering different felt for the feathers, chest, eyes, beak and feet. You will also need some thread, a hot glue gun and glue, a black marker, sewing machine, ribbon, embroidery hoop and cotton fill.
To begin, print and cut out the template and trace onto the felt. Cut out the pieces of felt and lay out your birds to make sure you have complete sets. Glue the feathers together and then run glue on the edges of the feathers. Now you can place and secure the face piece onto the feathers. Glue the eyes and beak onto the face and draw on some eye lashes on the eyes with a black marker. On the back felt piece of the bird, place on the wings and feet and mark them so you know exactly where you need to sew them. Now you can sew the wings and feet on and sew the top piece and front piece, along with the ribbon into the top of the bird, leaving a small hole so you can insert the fill inside. Insert the fill and sew up the hole. Finally place the ribbon through the embroidery hoop and tie all the ribbon pieces together and there you have a beautiful mobile to decorate your nursery.
Visit Rebecca’s fabulous Sugar & Soul blog for more imaginative homemaker projects and for all the instructions and to download the template to make a beautiful mobile for your nursery.
Model a Clay Owl Tray
A little tray on the dresser or nightstand is practical for holding small change, rings and keys and protecting your table top. To make your tray, you will need air drying clay, a rolling pin, parchment paper, a toothpick, sharp knife, water, a bowl, straw, plastic wrap, paint and sealer.
To start, lay your clay on parchment paper and roll it out. Draw the basic outline and shape of the bird and use a small round object to trace in some eyes. With a toothpick, mark out the bird’s beak. With a straw mark the feather indentations and with a sharp knife, carefully cut around the bird. Dip your finger in water and gently smooth over the rough edges of the tray. Allow it to dry for 24 hours and gently sand the edges. Now your tray is complete and you can paint and seal it, as desired.
Visit eHow for all the clay tray instructions and more great decorating projects for around your home.
Craft an Owl Ornament
The cute felt and pinecone ornaments are lovely to sit on a nightstand or dresser and are a perfect addition to your bedroom decor and inexpensive and easy to make. It’s another great craft activity for the kids too.
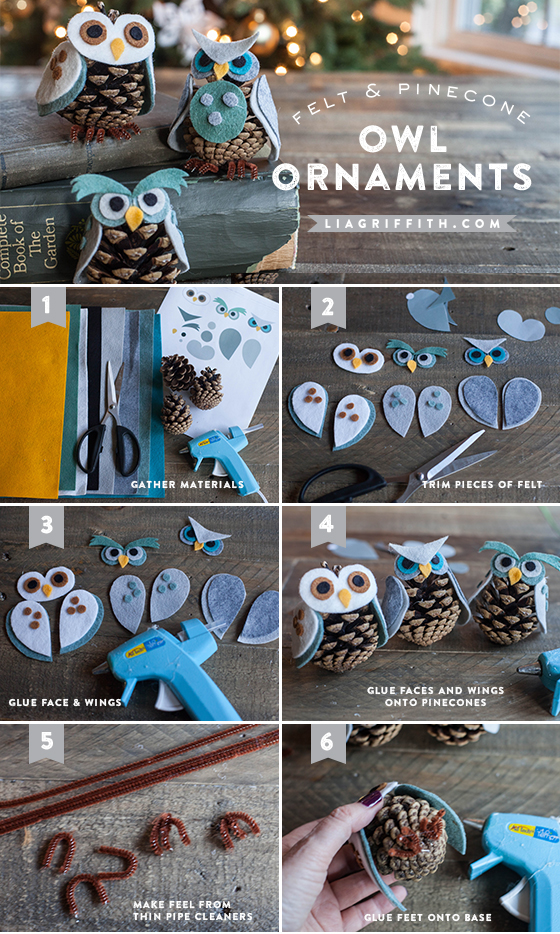
For this project, all you’ll need is some felt in a selection of your favourite colours, pine cones, pipe cleaners, scissors and glue. To start, download and print out the pattern and trim the felt pieces according to the pattern. Glue together the bird’s face and wings and when they’re dry, glue the faces and wings onto the pine cones. Make little feet from some pipe cleaners and then attach the feet onto the base of the pine cones with some glue. And your little ornaments are complete and ready for a home to perch on.
Visit Lia Griffith’s fabulous website to download the printable ornament pattern and for all the details to make this cute project.
Make An Owl Wall Plaque
This enchanting Owl Wood Slice makes a fabulous wall plaque to add charm and personality to any room and it’s so easy to make and a great craft project for the children to try too. For this project, you’ll just need a large wood slice, picture frame hanger, some varying size jar lids, bottle caps, a spoon, forks, a branch off a tree, glue and some optional stain.
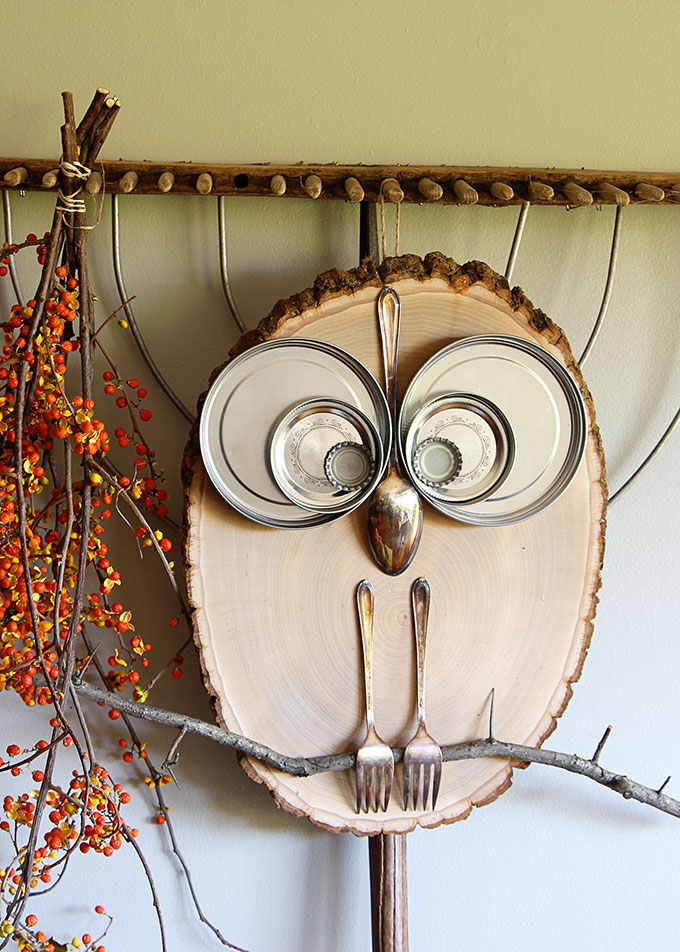
To start, you can stain the wood slice to add some colour and darken the wood slice. After it’s completely dry, attach the picture hanger on the back of the wood slice. Now you can glue the branch near the bottom of the wood slice and glue the forks on top of the branch so that the bird is perched securely on the tree. The next step is to glue the spoon in place to form the bird’s beak and arrange the jar lids and bottle caps to form those strikingly beautiful big eyes. And you’re done. Simply hang your wall art up and give him a name and you have an adorable work of art for your home.
Visit House of Hawthornes for all the wall plaque instructions and many more amazing crafts.

These innovative owl decor ideas are easy to achieve and inexpensive, but can enhance your child’s bedroom or any room in your home, to achieve a room that you’ll both get a hoot out of.
For a gorgeous range of bedding sets to create modern and contemporary interior design in your child’s room, view our extensive range of quilt cover sets, cushions, accessories and more.
